Quilted Ornament DIY Instructions
Enjoy some of our most popular items.
-
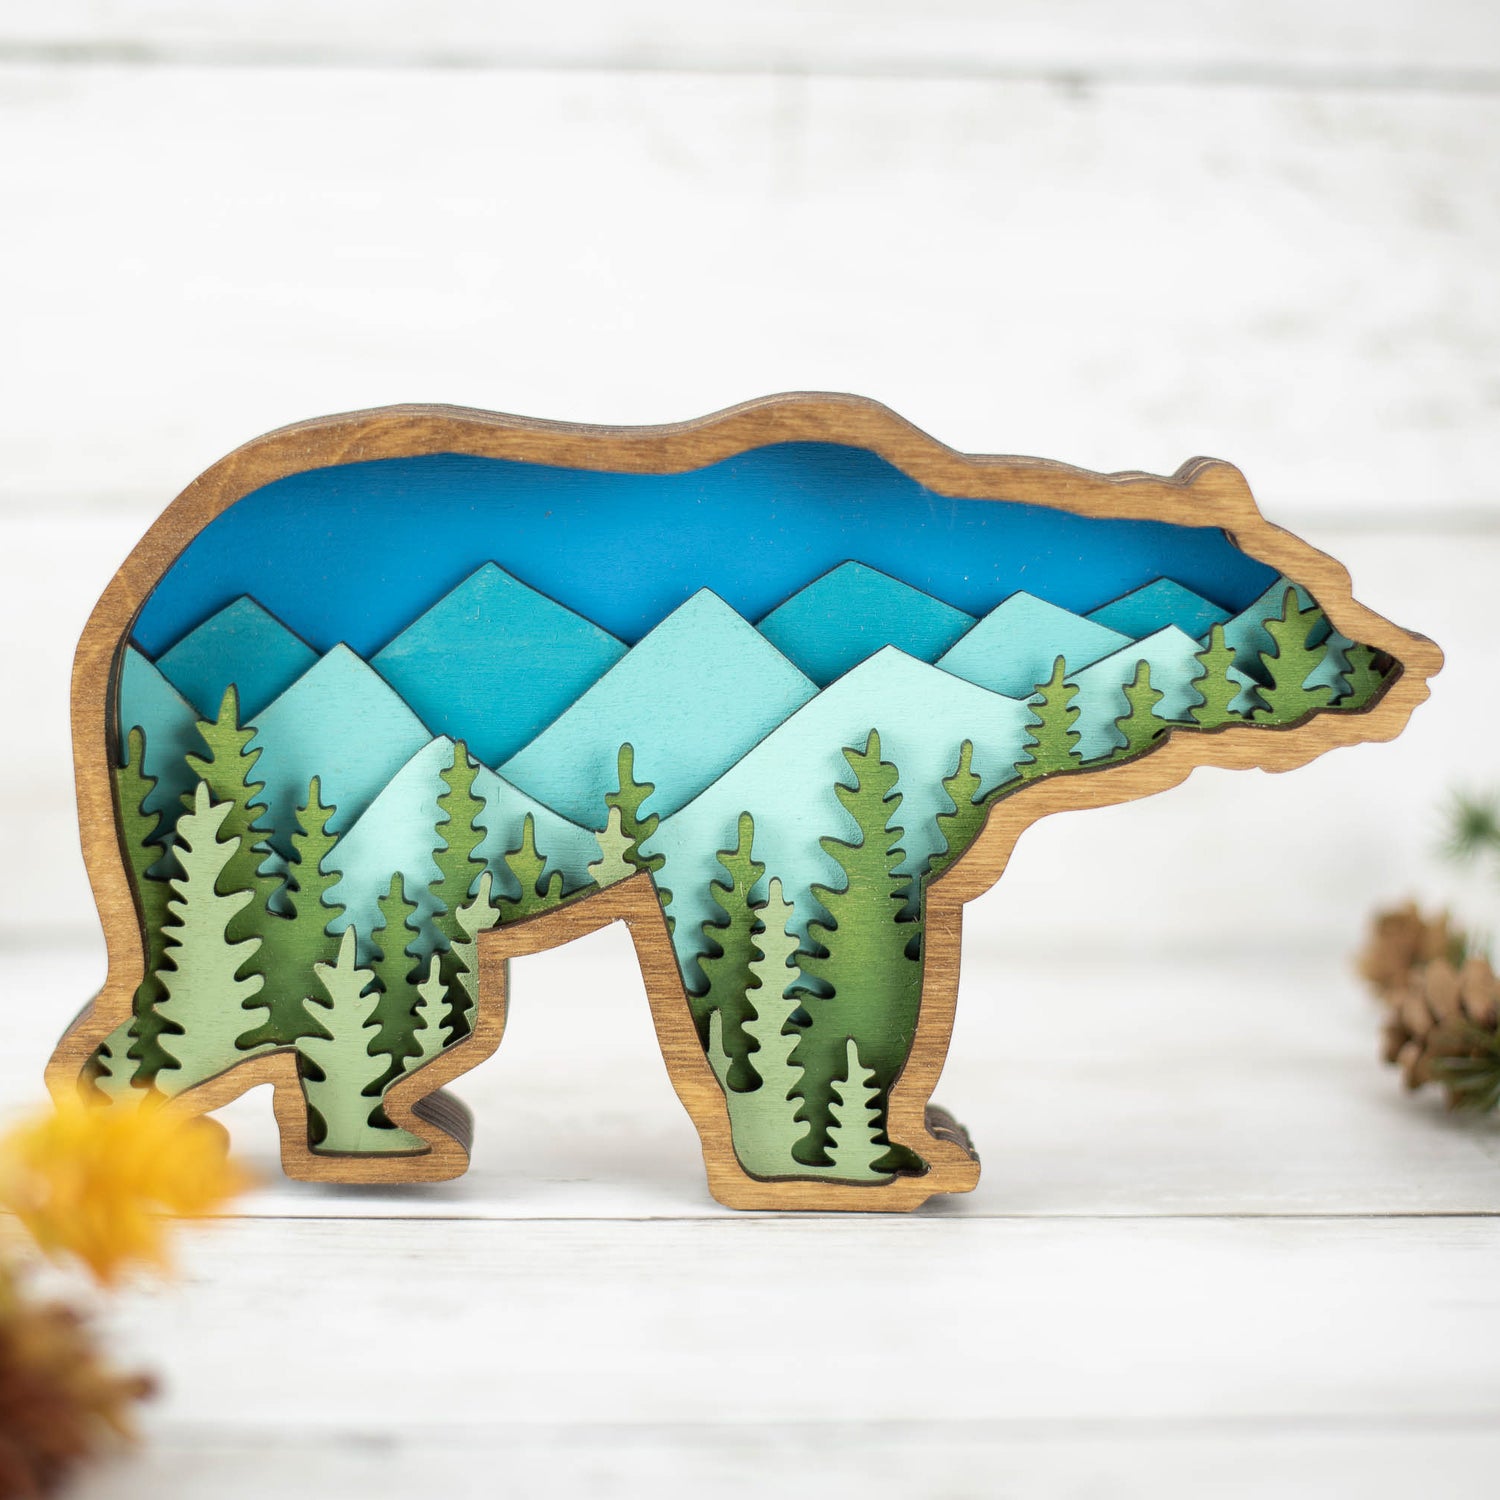
3D Layered Wood Grizzly Bear Art With Mountain and Forest Landscape
Regular price From $45.00Regular priceUnit price per$45.00Sale price From $45.00 -
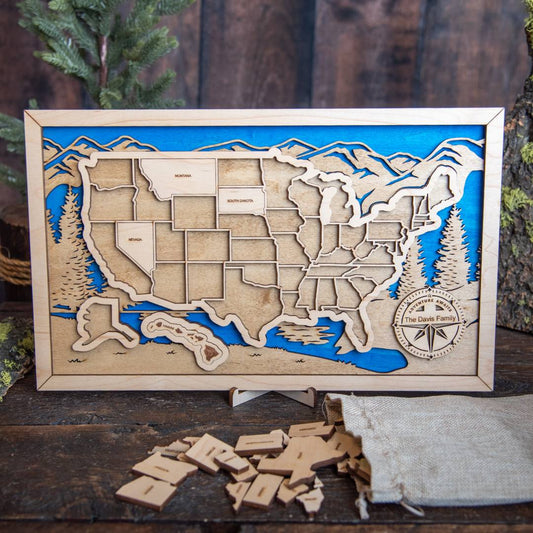
State Travel Tracking Map
Regular price $115.00Regular priceUnit price per$115.00Sale price $115.00 -
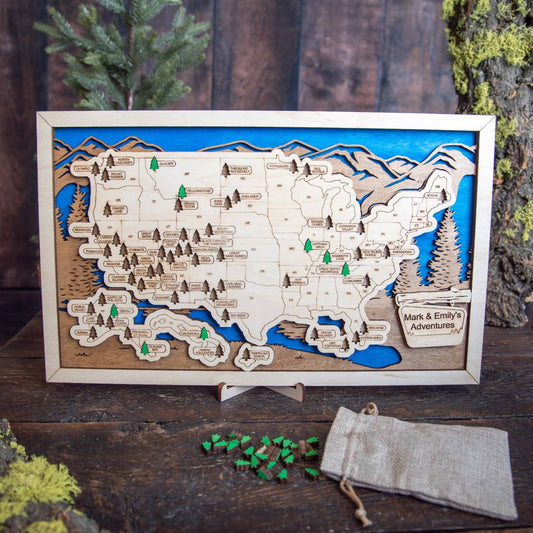
National Park Travel Tracking Map
Regular price $115.00Regular priceUnit price per$115.00Sale price $115.00 -
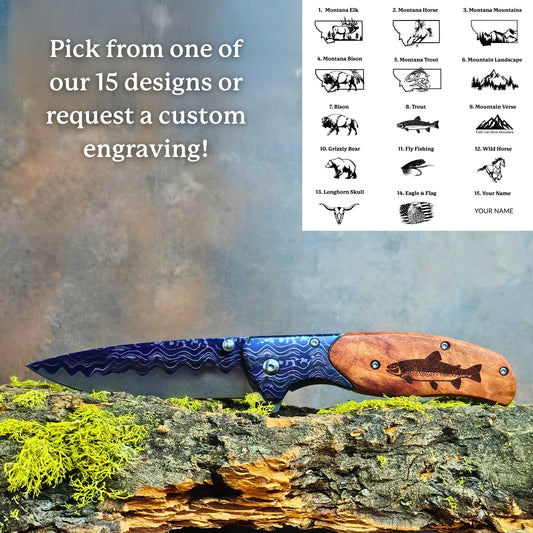
Personalized Blue Wave Knife
Regular price $40.00Regular priceUnit price per$40.00Sale price $40.00